Anycubic Kobra 3 V2 Combo Vibrant. Versatile. Visionary.
Up to 8-color printing at 600 mm/s with the ACE Pro drying station

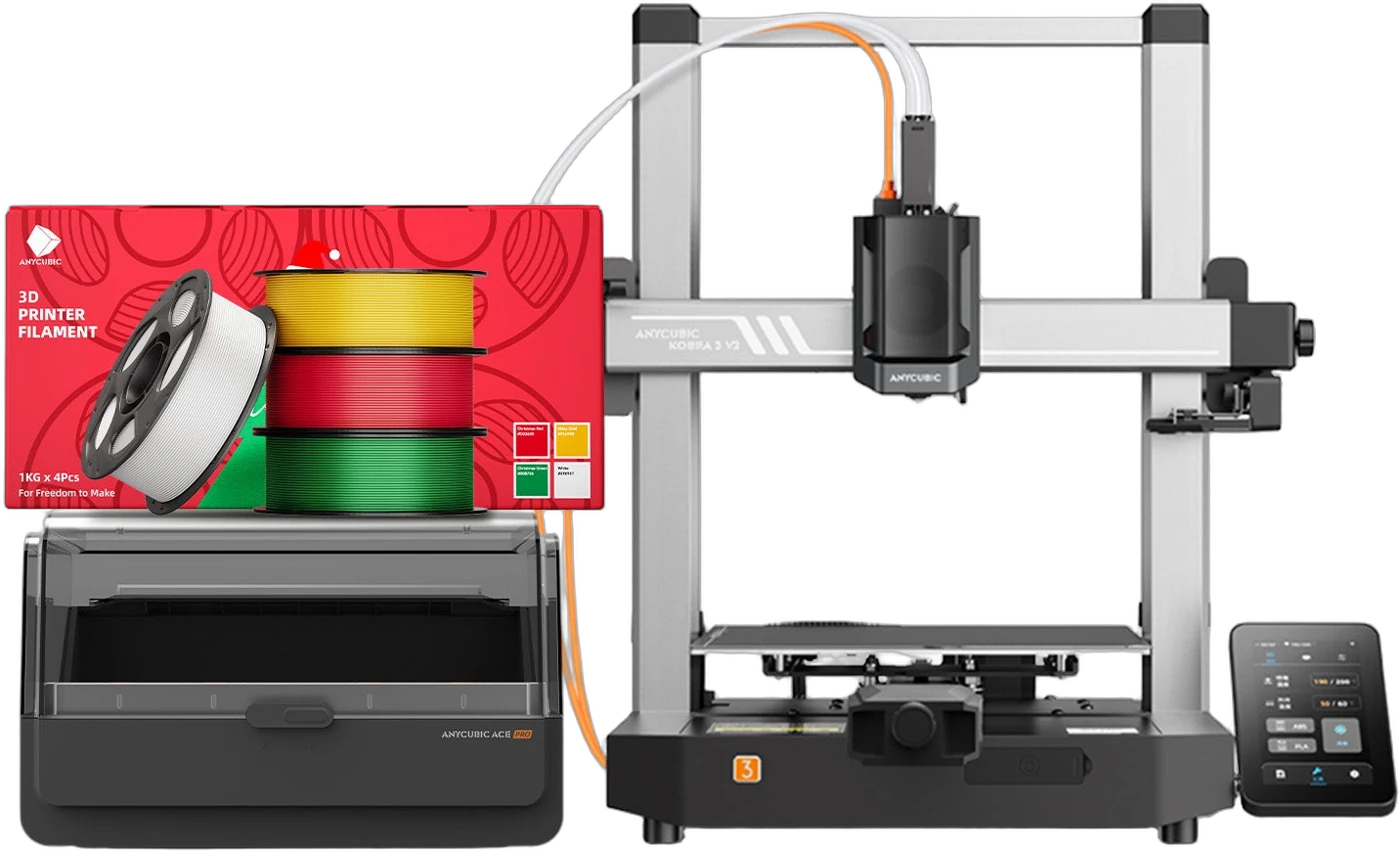
The Kobra 3 V2 Combo pairs Anycubic’s high-speed Kobra 3 V2 printer with the ACE Pro multicolor unit — up to 8 colors, active filament drying, LeviQ3.0 auto-leveling, and a 720p AI monitoring camera, all in a desktop FDM platform that ships ready to print. Full specifications →
Purchase direct from Rev1 Technologies — a US-based reseller. The Combo ships with the ACE Pro for 4-color printing (8-color ready with a second ACE Pro), from our US warehouse with US phone and video support.
Buy the Kobra 3 V2 Combo from a US-Based Reseller.
Rev1 Technologies sells and supports the Anycubic Kobra 3 V2 Combo for customers across the United States. Orders ship from our US warehouse, and our team provides US-based phone and video support to help you get printing — reach us at (248) 707-2950.
Up to 8 Colors, Dried While It Prints
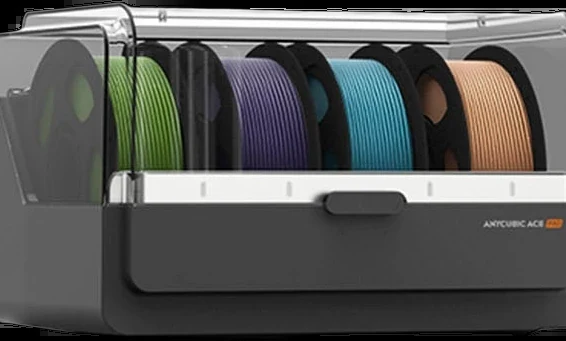
One ACE Pro for 4 colors, two for 8
The ACE Pro multicolor unit feeds the Kobra 3 V2 from up to four spools. Add a second ACE Pro and the printer blends from eight materials in a single print — multi-color models, multi-material supports, or one long job across several spools of the same color so it never runs dry mid-print.
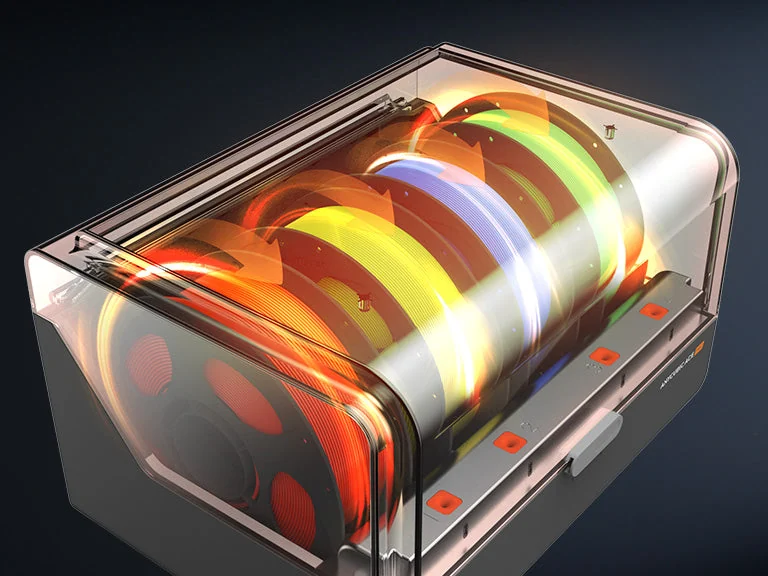
Active drying keeps filament print-ready
PLA, PETG, and TPU all absorb moisture from the air, which shows up as stringing, popping, and weak layers. The ACE Pro warms its enclosed spools while you print, so filament stays dry through long jobs instead of degrading on the shelf — no separate dry box to babysit.
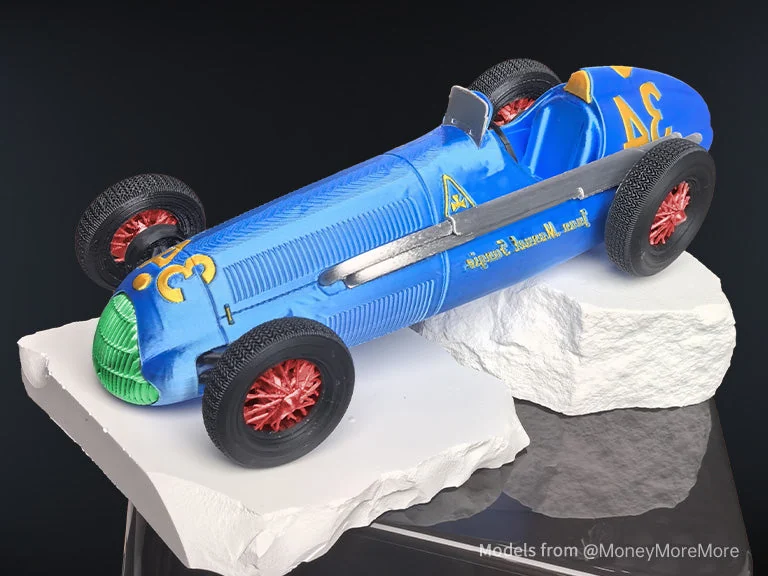
Real color, not just color-changes
Because the ACE Pro purges and swaps cleanly, you get crisp boundaries between colors instead of muddy transitions. Print finished display pieces, color-coded functional parts, or prototypes that read at a glance — straight off the bed in PLA, PETG, or silk.
600 mm/s, With the Motion System to Use It
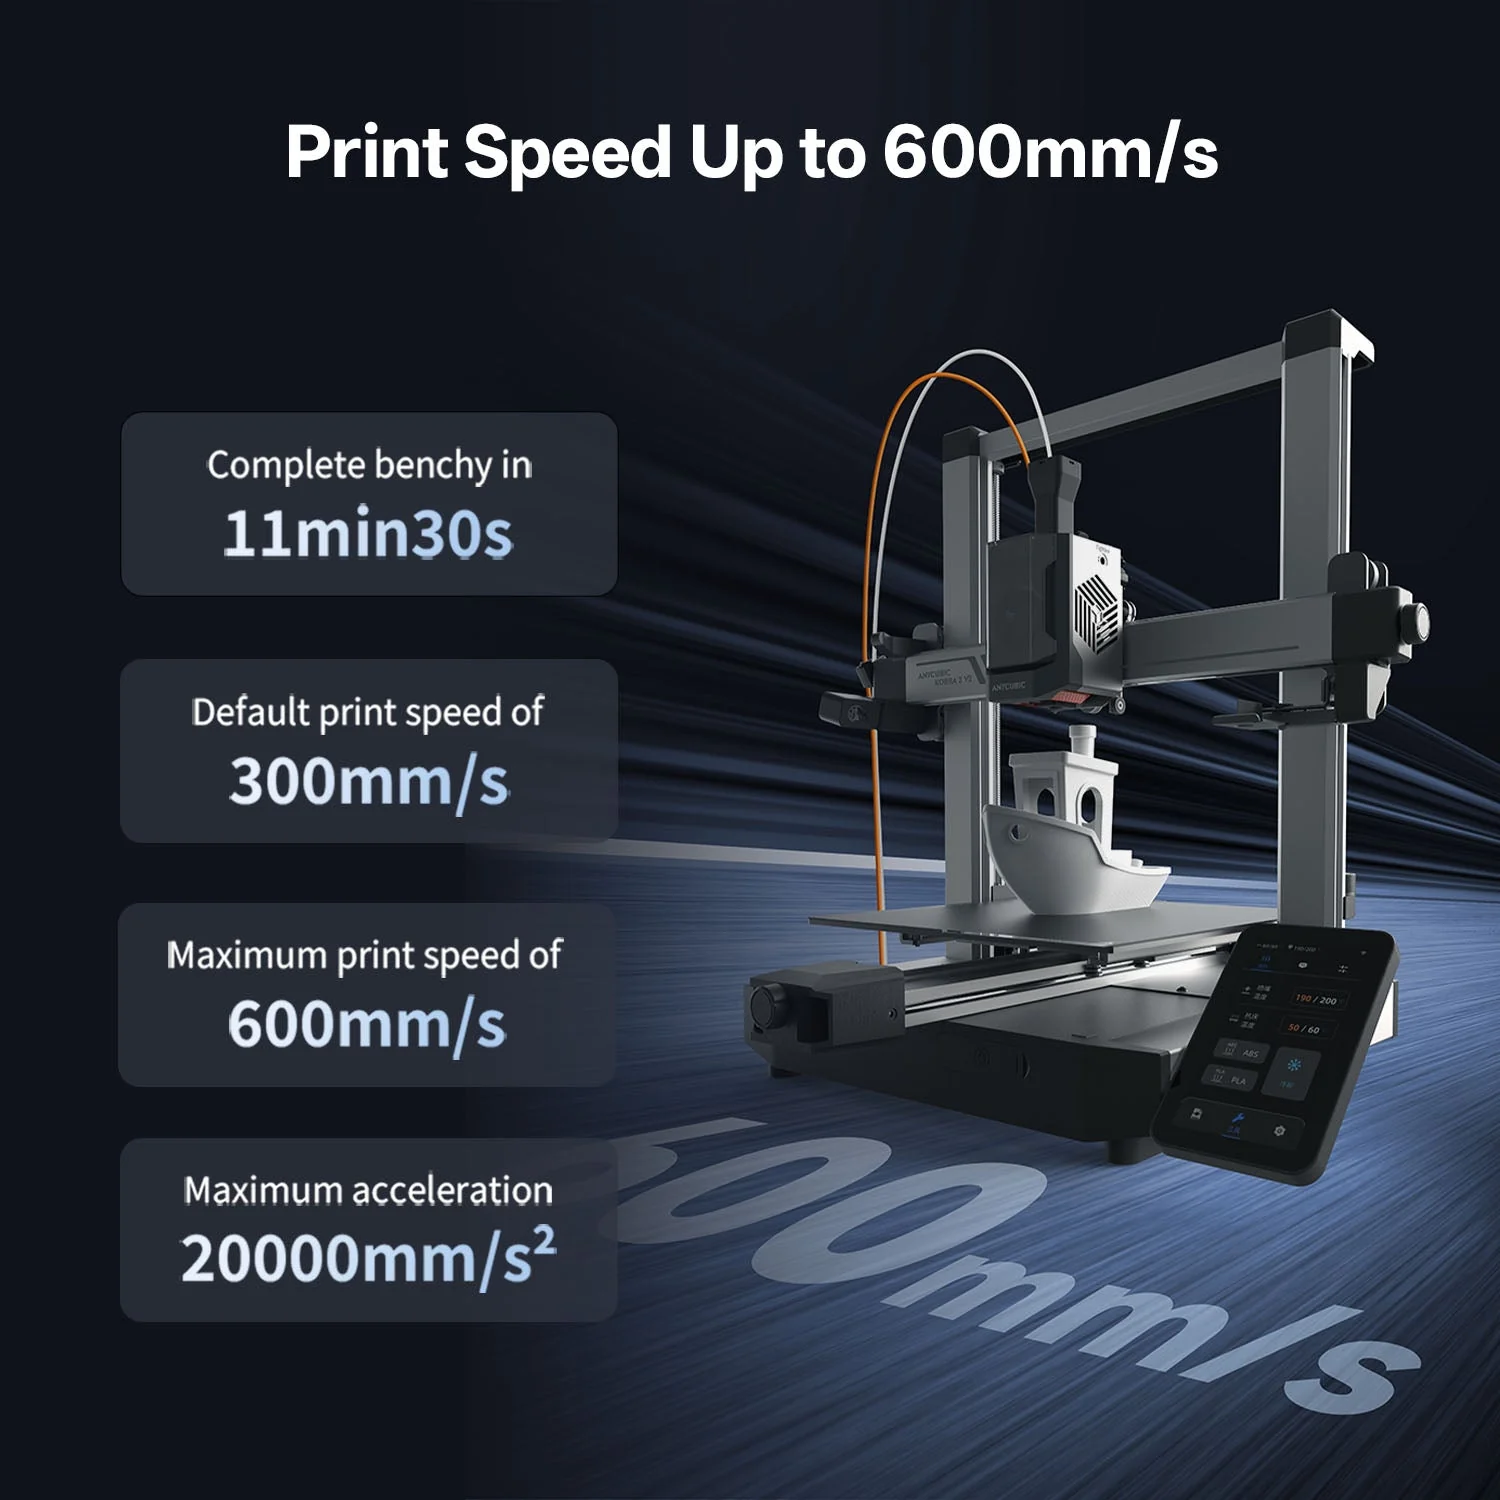
A benchy in 11 min 30 s
The Kobra 3 V2 tops out at 600 mm/s with 20,000 mm/s² acceleration, and runs a 300 mm/s default profile that most parts can use without tuning. That turns iterative prototyping from an overnight wait into same-session turnaround.
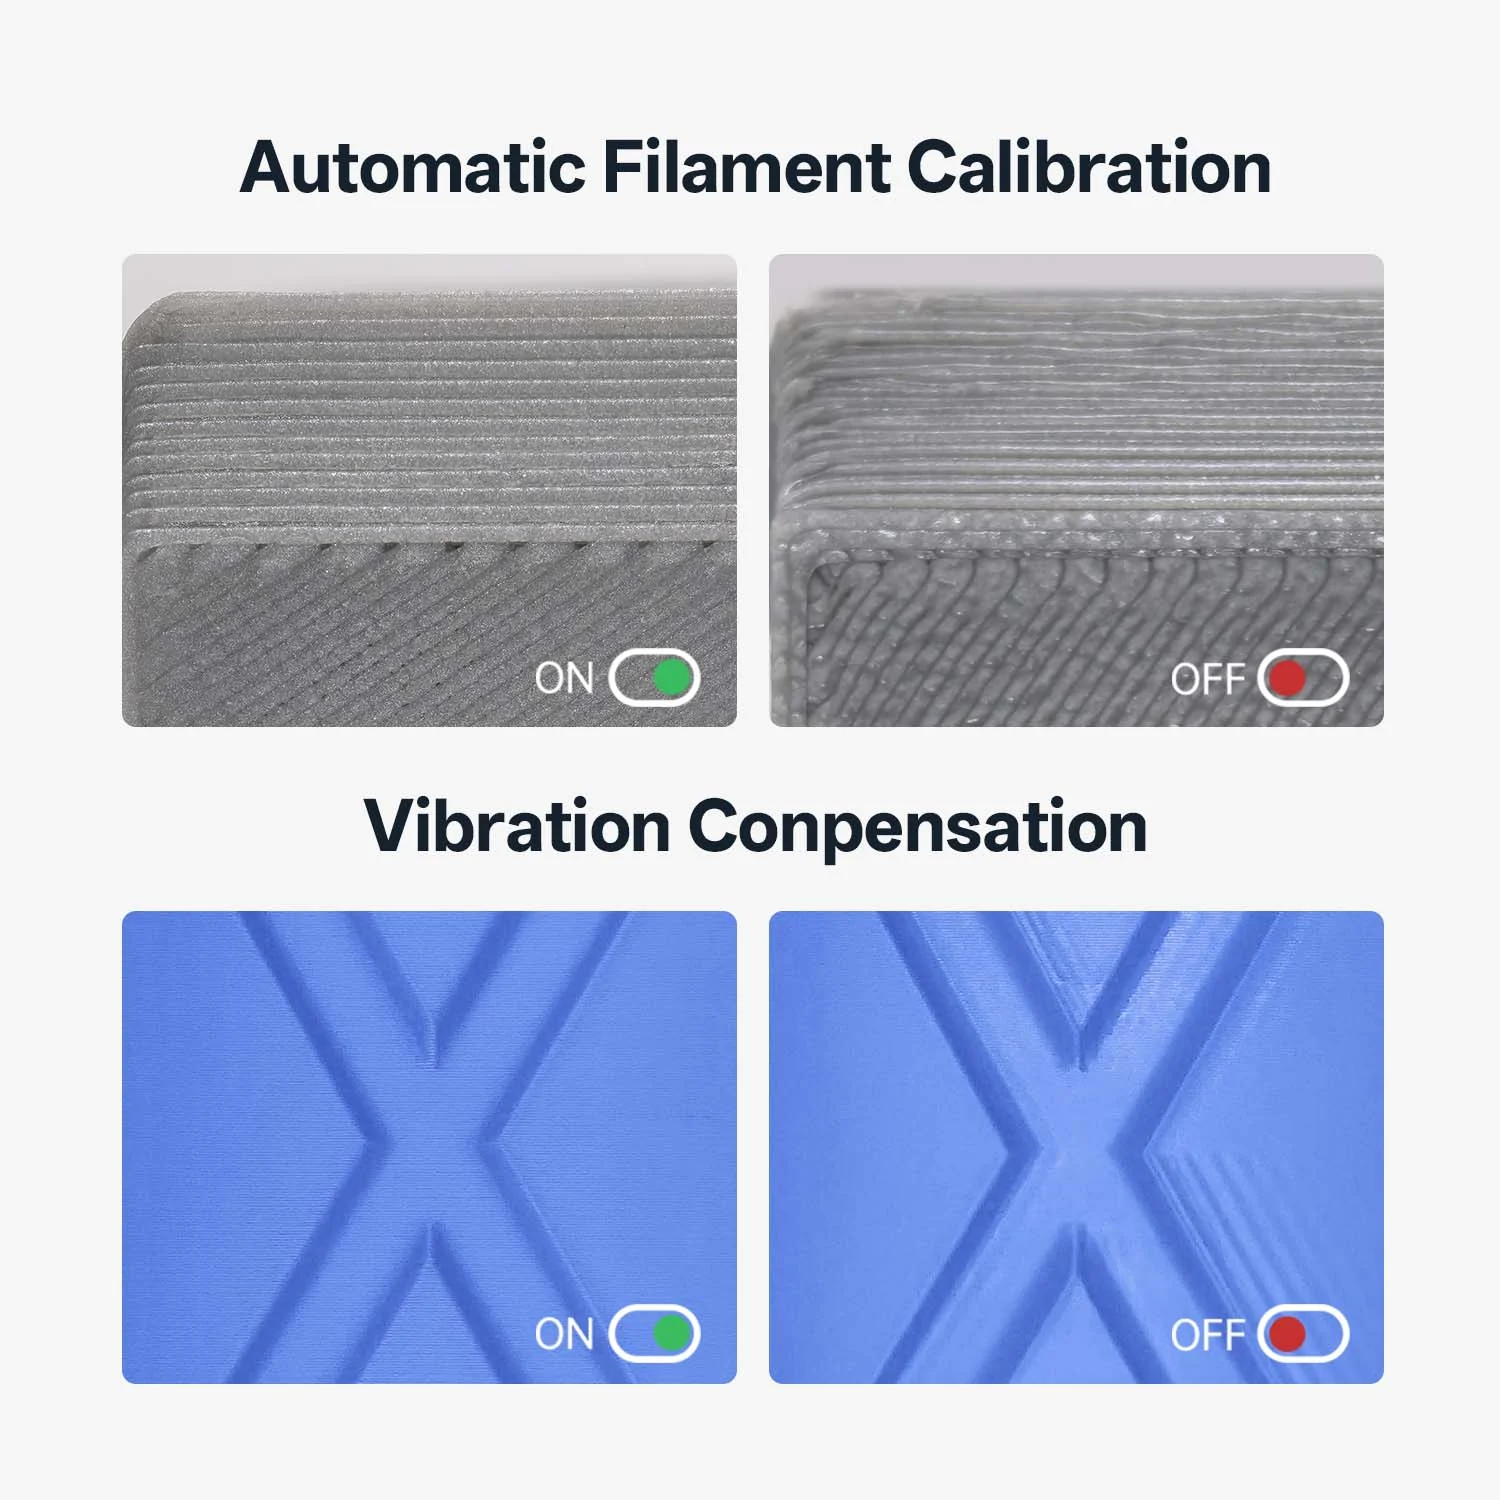
Vibration compensation keeps speed clean
High speed only helps if the surface holds up. One-click input-shaping (vibration compensation) cancels the ringing and ghosting that fast moves normally leave behind, while automatic flow calibration dials in extrusion per filament — so the fast profile still looks like the slow one.
LeviQ3.0 Auto-Leveling — No Z-Offset Fiddling
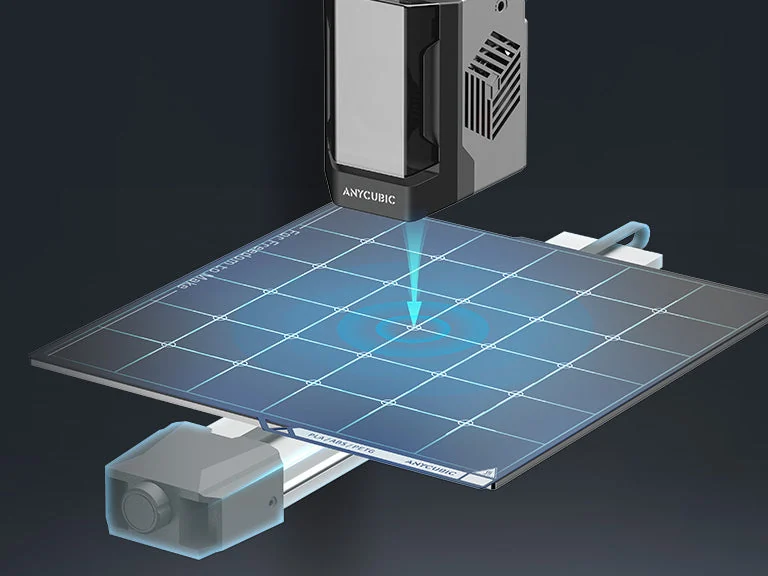
Probe the bed, skip the Z-offset
LeviQ3.0 maps the PEI spring-steel plate automatically and sets the first-layer height for you — no paper-shimming, no manual Z-offset. The textured PEI surface grips parts during the print and releases them with a flex once it cools.

A stiffer frame under the leveling
The V2 widens the Y-axis to 60 mm and upgrades to SG15 X-axis bearings, so the gantry stays square as the bed slings back and forth at speed. A more rigid motion system means the leveling map it just measured still holds part-way up a tall print.
255 × 255 × 260 mm of Working Space

A little wider, a lot more useful
The V2 stretches the bed to 255 mm square — a 4% bump that clears the most common “just barely too big” parts. With a 260 mm Z height, it handles tall single prints or a full plate of small multicolor parts in one run.
A 720p Camera and AI That Watches the Print
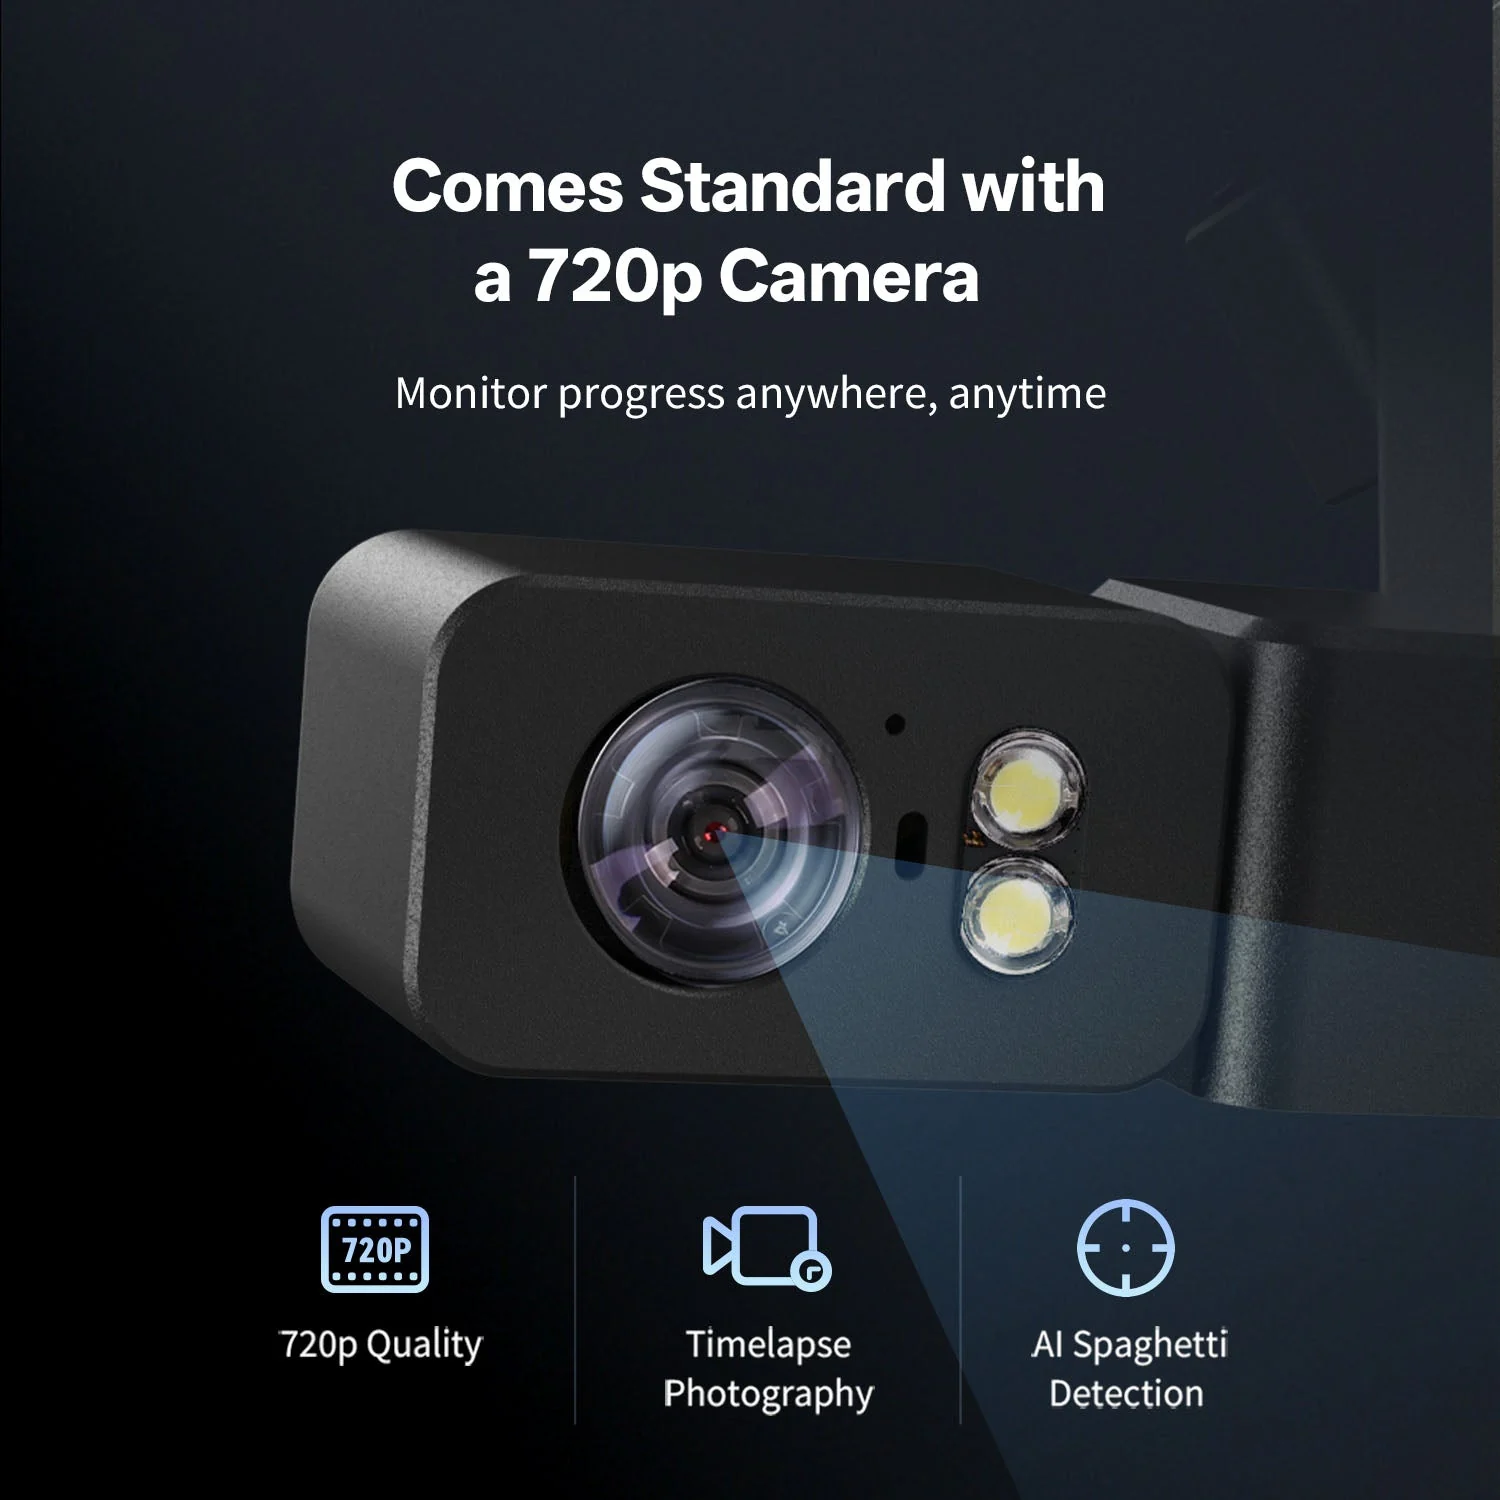
Watch it print from anywhere
A standard 720p camera streams the print to the Anycubic app so you can check long jobs remotely. The same feed records timelapses and feeds AI spaghetti detection — if a print fails into a tangle, it flags the job instead of wasting the rest of the spool.

Direct drive with a quick-release hotend
The short-path direct-drive extruder handles flexible TPU as well as PLA and PETG, and the full-metal quick-release hotend swaps without tools when it’s time to clean or change a nozzle. Power-loss recovery and filament runout resume mean a hiccup doesn’t cost you the whole print.
Printing in 15 Minutes, Managed From Your Phone

Anycubic Slicer Next + the Anycubic app
Slicer Next is built on the open-source Orca slicer and tuned for Kobra printers, so profiles for the V2 and the ACE Pro are ready out of the box. The Anycubic app adds remote control, monitoring, and a model library — start a print, watch it, and pull new models from your phone.
Unbox and start printing in about 15 minutes
The Kobra 3 V2 arrives mostly assembled with intelligent setup assistance on the 4.3″ touchscreen walking you through first leveling and calibration. It’s a genuine print-from-day-one machine — minimal assembly, no firmware flashing, no community-mod scavenger hunt to get good results.
See the Kobra 3 V2 Combo in Action
Kobra 3 V2 Combo vs. Other Multicolor FDM Printers
Compared against similar desktop multicolor FDM printers at or above its price. Street prices shown are approximate and change with promotions.
| Feature | Anycubic Kobra 3 V2 Combo | Bambu Lab A1 + AMS lite | Creality K1C + CFS |
|---|---|---|---|
| Multicolor | Up to 8 colors (2× ACE Pro) | 4 colors (AMS lite) | 4 colors (CFS) |
| Active filament drying | Yes, in the ACE Pro | No (open AMS lite) | No |
| Max speed | 600 mm/s | 500 mm/s | 600 mm/s |
| Build volume | 255 × 255 × 260 mm | 256 × 256 × 256 mm | 220 × 220 × 250 mm |
| Build plate | PEI spring steel, LeviQ3.0 | Textured PEI, auto-level | PEI, auto-level |
| Camera | 720p + AI detection | Add-on | AI camera |
| Enclosure | Open frame | Open frame | Enclosed |
| Approx. street price (combo) | ~$395–749 | ~$549 | ~$599 |
Anycubic Kobra 3 V2 Combo Technical Data
RESOURCES
Downloads & Technical Support
Everything you need to choose, set up, and run your Anycubic Kobra 3 V2 Combo.
WHY REV1 TECH
Buy from a US Reseller That Actually Supports You
Rev1 Technologies sells the Anycubic Kobra 3 V2 Combo to customers across the United States, with US-based support and additive-manufacturing expertise behind every order.
Rev1 Technologies is a US-based reseller serving makers, schools, and businesses across the USA. We ship from a US warehouse, answer the phone here, and help you get good multicolor prints — not just take the order and disappear.
FAQ
Anycubic Kobra 3 V2 Combo — Common Questions
What’s the difference between printer-only, 4-color, and 8-color?
Printer-only is the Kobra 3 V2 by itself — single-color printing. The 4-color combo adds one ACE Pro multicolor unit (up to 4 spools). Adding a second ACE Pro unlocks 8-color printing for up to 8 spools. You can start with the printer or one ACE Pro and add a second later.
What materials can the Kobra 3 V2 Combo print?
PLA, PETG, and TPU, including PLA Silk, Matte, PLA+, and high-speed PLA. TPU prints through the direct-drive extruder but is not run through the ACE Pro multicolor path. The 300°C hotend and 110°C bed cover the common desktop filament range.
How fast does it really print?
Maximum speed is 600 mm/s with 20,000 mm/s² acceleration; the default profile runs 300 mm/s, which most parts use without tuning. Anycubic rates a standard benchy at about 11 minutes 30 seconds. Vibration compensation keeps fast prints clean.
Does it level itself?
Yes. LeviQ3.0 auto-leveling maps the PEI spring-steel plate and sets the first layer with no manual Z-offset. The wider 60 mm Y-axis and SG15 X-axis bearings keep the gantry stable so the leveling holds during a print.
Does it have a camera?
It includes a standard 720p camera for remote monitoring through the Anycubic app, timelapse recording, and AI spaghetti detection that flags failed prints so you don’t waste filament.
Does the ACE Pro really keep filament dry?
The ACE Pro warms its enclosed spools while you print, which keeps moisture-sensitive filament like PETG print-ready instead of degrading on an open shelf. It dries while it prints — no separate dry box needed for everyday materials.
How long does setup take?
The Kobra 3 V2 arrives mostly assembled; most users are printing in about 15 minutes. The 4.3″ touchscreen guides first leveling and calibration, and Anycubic Slicer Next ships with ready-made profiles for the printer and ACE Pro.
Is it enclosed? Can it print ABS?
The Kobra 3 V2 is an open-frame bed-slinger optimized for PLA, PETG, and TPU. It does not have a heated enclosure, so it is not intended for high-temperature engineering materials like ABS or nylon. For those, ask Rev1 about an enclosed or industrial machine.
Where does it ship from and who supports it?
Rev1 Technologies ships the Kobra 3 V2 Combo from a US warehouse and provides US-based phone and video support at (248) 707-2950. It carries Anycubic’s 1-year printer warranty with Rev1 as your US point of contact.