Your cart is empty
You may check out all the available products and buy some in the shop
Return to shop Extra $30 off code: WINTER
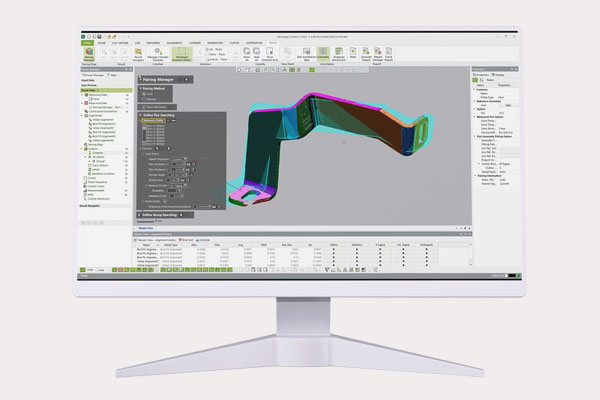
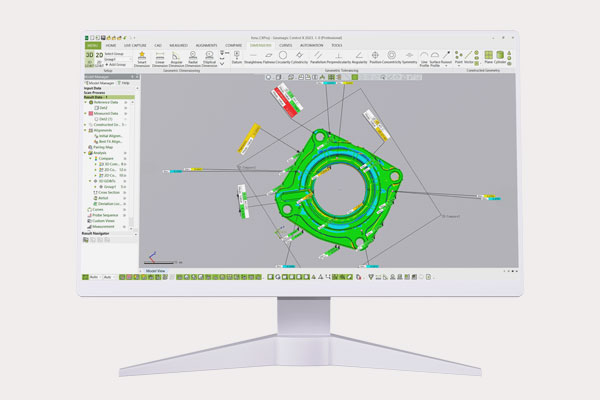
 Geomagic Control X is a powerful metrology software that works with 3D scanners and measurement devices to capture and analyze data. It helps you measure with precision, understand inspection results, and improve quality control, ensuring every part meets your standards.
 Product Details
 Lorem ipsum dolor sit amet, consectetur adipiscing elit. Ut elit tellus, luctus nec ullamcorper mattis, pulvinar dapibus leo.
 Product Details
 Lorem ipsum dolor sit amet, consectetur adipiscing elit. Ut elit tellus, luctus nec ullamcorper mattis, pulvinar dapibus leo.
Improve your ability to investigate quality issues across parts or over time with the multiple results system and the Result Navigator. Identify sources of stack-up errors in weldments or assemblies by working with many results under different alignment scenarios, deriving actionable information from the analysis. Use portable measuring devices, optical scanners, and computed tomography to collect families of parts or assemblies into one inspection project for easy cross-referencing.


New powerful reporting features in Geomagic Control X enable graphically-rich, communicative reports. Custom viewpoint control and view-style reporting allow your reports to closely follow traditional paper or PDF graphical presentations. Intelligent 3D dimensioning and annotation management processes enable detailed control of dimension displays, with options for popular default representations or personalized styles to match your company’s standards.
With Geomagic Control X, users can import scan data mesh files and create feature-based, edited solid models that integrate seamlessly with existing CAD platforms. For those who only need to design mating components that fit up to a scanned part, the auto-surfacing tool converts scan data to a solid model in seconds or minutes, rather than days.
Recreate blades and blisks with efficient turbine blade averaging workflows.
Fast and accurate volumetric reporting, perfect for costing and planning additive production of heat exchangers.
Automate a set inspection routine, even when the reference geometry changes from patient to patient.
Accurately report out surface area data for electro-plating components.
You may check out all the available products and buy some in the shop
Return to shop
